Cutting your dog's nails
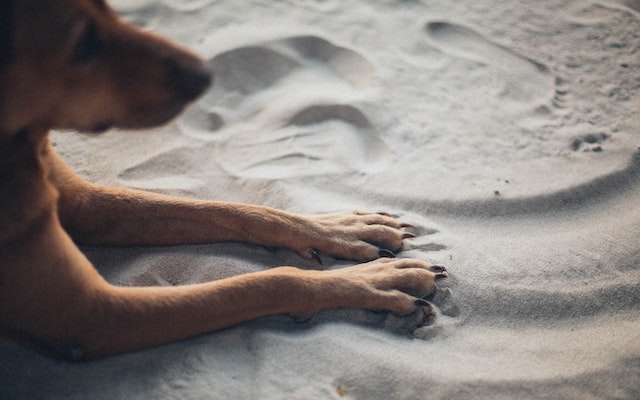
Just like a balanced diet and a well-groomed coat, trimming your dog’s nails is a matter of health and well-being. Taking care of your dog’s nails and knowing when it’s time to shorten them is essential for guaranteeing that they can enjoy being on their feet.
Why is cutting your dog's nails important?
A dog’s nails grow continuously and are to a certain extend worn away on concrete and other rough surfaces. If the nails grow faster than they’re worn down, or if your dog is a couch potato that doesn’t come into contact with rough surfaces a lot, trimming them will keep your dog’s movement from being impaired. If their nails are too long, your dog will adjust their stance to avoid feelings of discomfort or pain, which can result in postural defects and long-term health problems.
When is a nail too long?
The nails of your dog should stop just short of the ground while they’re standing up. Another useful rule of thumb is to check whether you can hear your buddy clacking towards you while they’re walking on wood or tile floors. While it depends on your dog and how fast their nails grow, leaving too much time between cuts will only make the process lengthier and more tedious for both of you. Every two or three weeks is a good benchmark and with a bit of practice you’ll be able to tell whether the time between trims is right.
How to prepare
Taking a pair of nail clippers and actually putting them to use can be a scary prospect, but it doesn’t have to be. As with most things, proper training (and a truckload of treats) is the key to making nail trimming a comfortable and positive experience for your dog.
If you choose to cut your dog’s nails yourself, the first step is to get them used to the tools and motions involved in the process. It will pay off to put in time for training regularly and early on. Ideally, you can already start training your puppy by getting them used to you touching and handling their paws and toes. Progress slowly from there by letting them sniff the clippers, touching them to their paws without using them, and getting them familiar with the sounds and feel of the tool. Rewarding them generously with treats at every step will create a positive association for your dog.
If you don’t feel up to the task or don’t have the time, you can always have a pet groomer or the vet trim your dog’s nails. You can also stick around and get some tips on how to do it yourself the next time.
Time to trim

Once it’s time to actually cut the nails, find a position that your dog will be comfortable and relaxed in. Beginners might benefit from their dog laying down on their side to have easier access to the paws, but you can take the time to find out whatever works best for you.
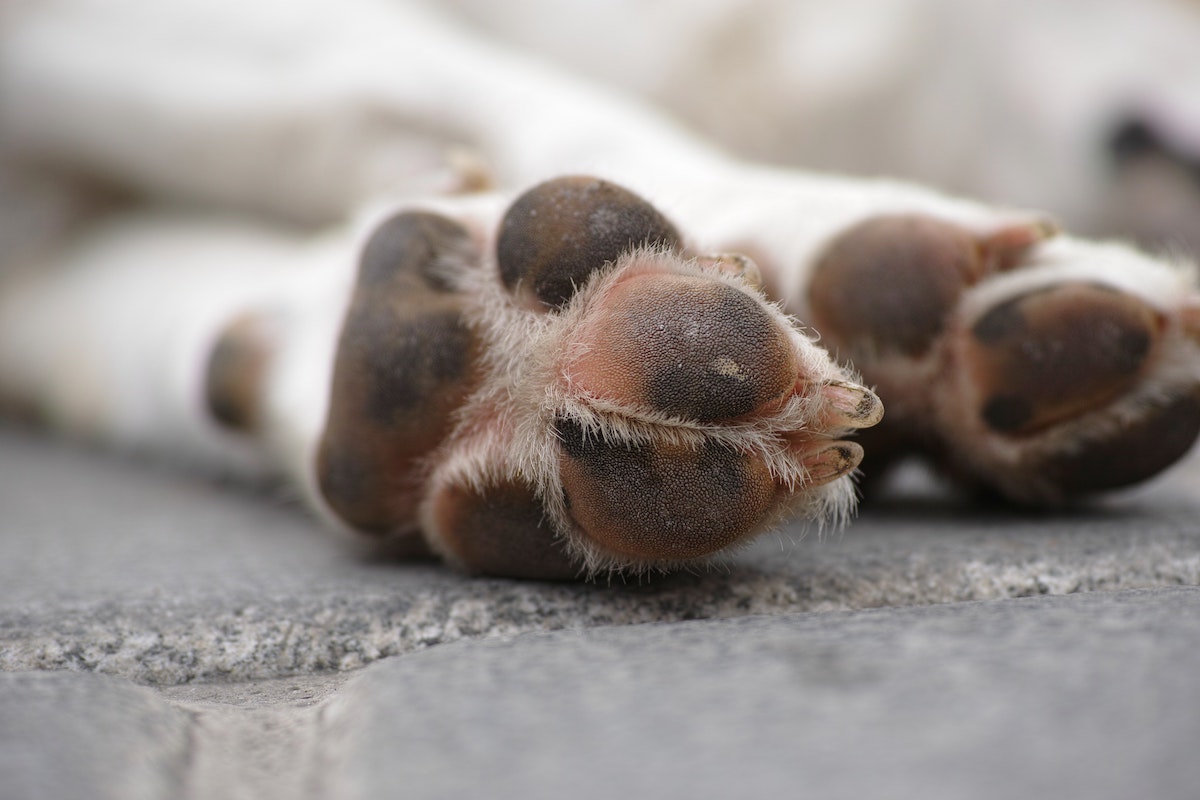
The nail itself consists of two parts: the actual nail, that is safe to cut, and the inner part, called the quick. The quick contains nerves and blood vessels and can be seen within white nails as a pink area, close to the root of the nail. This is the part you need to look out for, as cutting into the quick is painful for your dog and causes bleeding.
Keeping this in mind, it’s time to get started. By taking the paw into your hand and pressing down lightly on the paw pad, the nail extends and will be easier to reach. Once you’ve made sure that your dog is keeping still, you can remove the tip of the nail, stopping at least three millimetres short of the quick. Don’t be hesitant while clipping to avoid crushing the nail and don’t put it upon yourself to cut all the nails in one sitting. If your dog is too nervous or still unfamiliar with the process, cut one at a time over the course of a few days. Remember to keep an eye out for the dew nails (although not every dog has them) positioned a bit higher up on the inner paw, as they don’t come into contact with the ground and can therefore grow quite long.
Admittedly, all of this is a bit trickier if your dog has black nails. In this case, start by cutting off small bits little by little and stop once you can see a black dot within the white cut surface. This marks the beginning of the quick and tells you that it’s time to stop cutting further.

It's important to note that the quick will also grow longer into the nail the more time passes between cuts, a good reason to regularly trim your dog’s nails and not put it off for too long. If this does happen, trim the nail little by little every week until the quick has receded back toward the root.
If you do cut into the quick, stay calm and focus on stopping the bleeding. You can wrap an ice cube in a towel and press down on the injury or purchase styptic powder at the pet supply store, which will help close the wound very quickly. If the bleeding doesn’t stop, a trip to the vet will do the trick.
Choosing the right tool
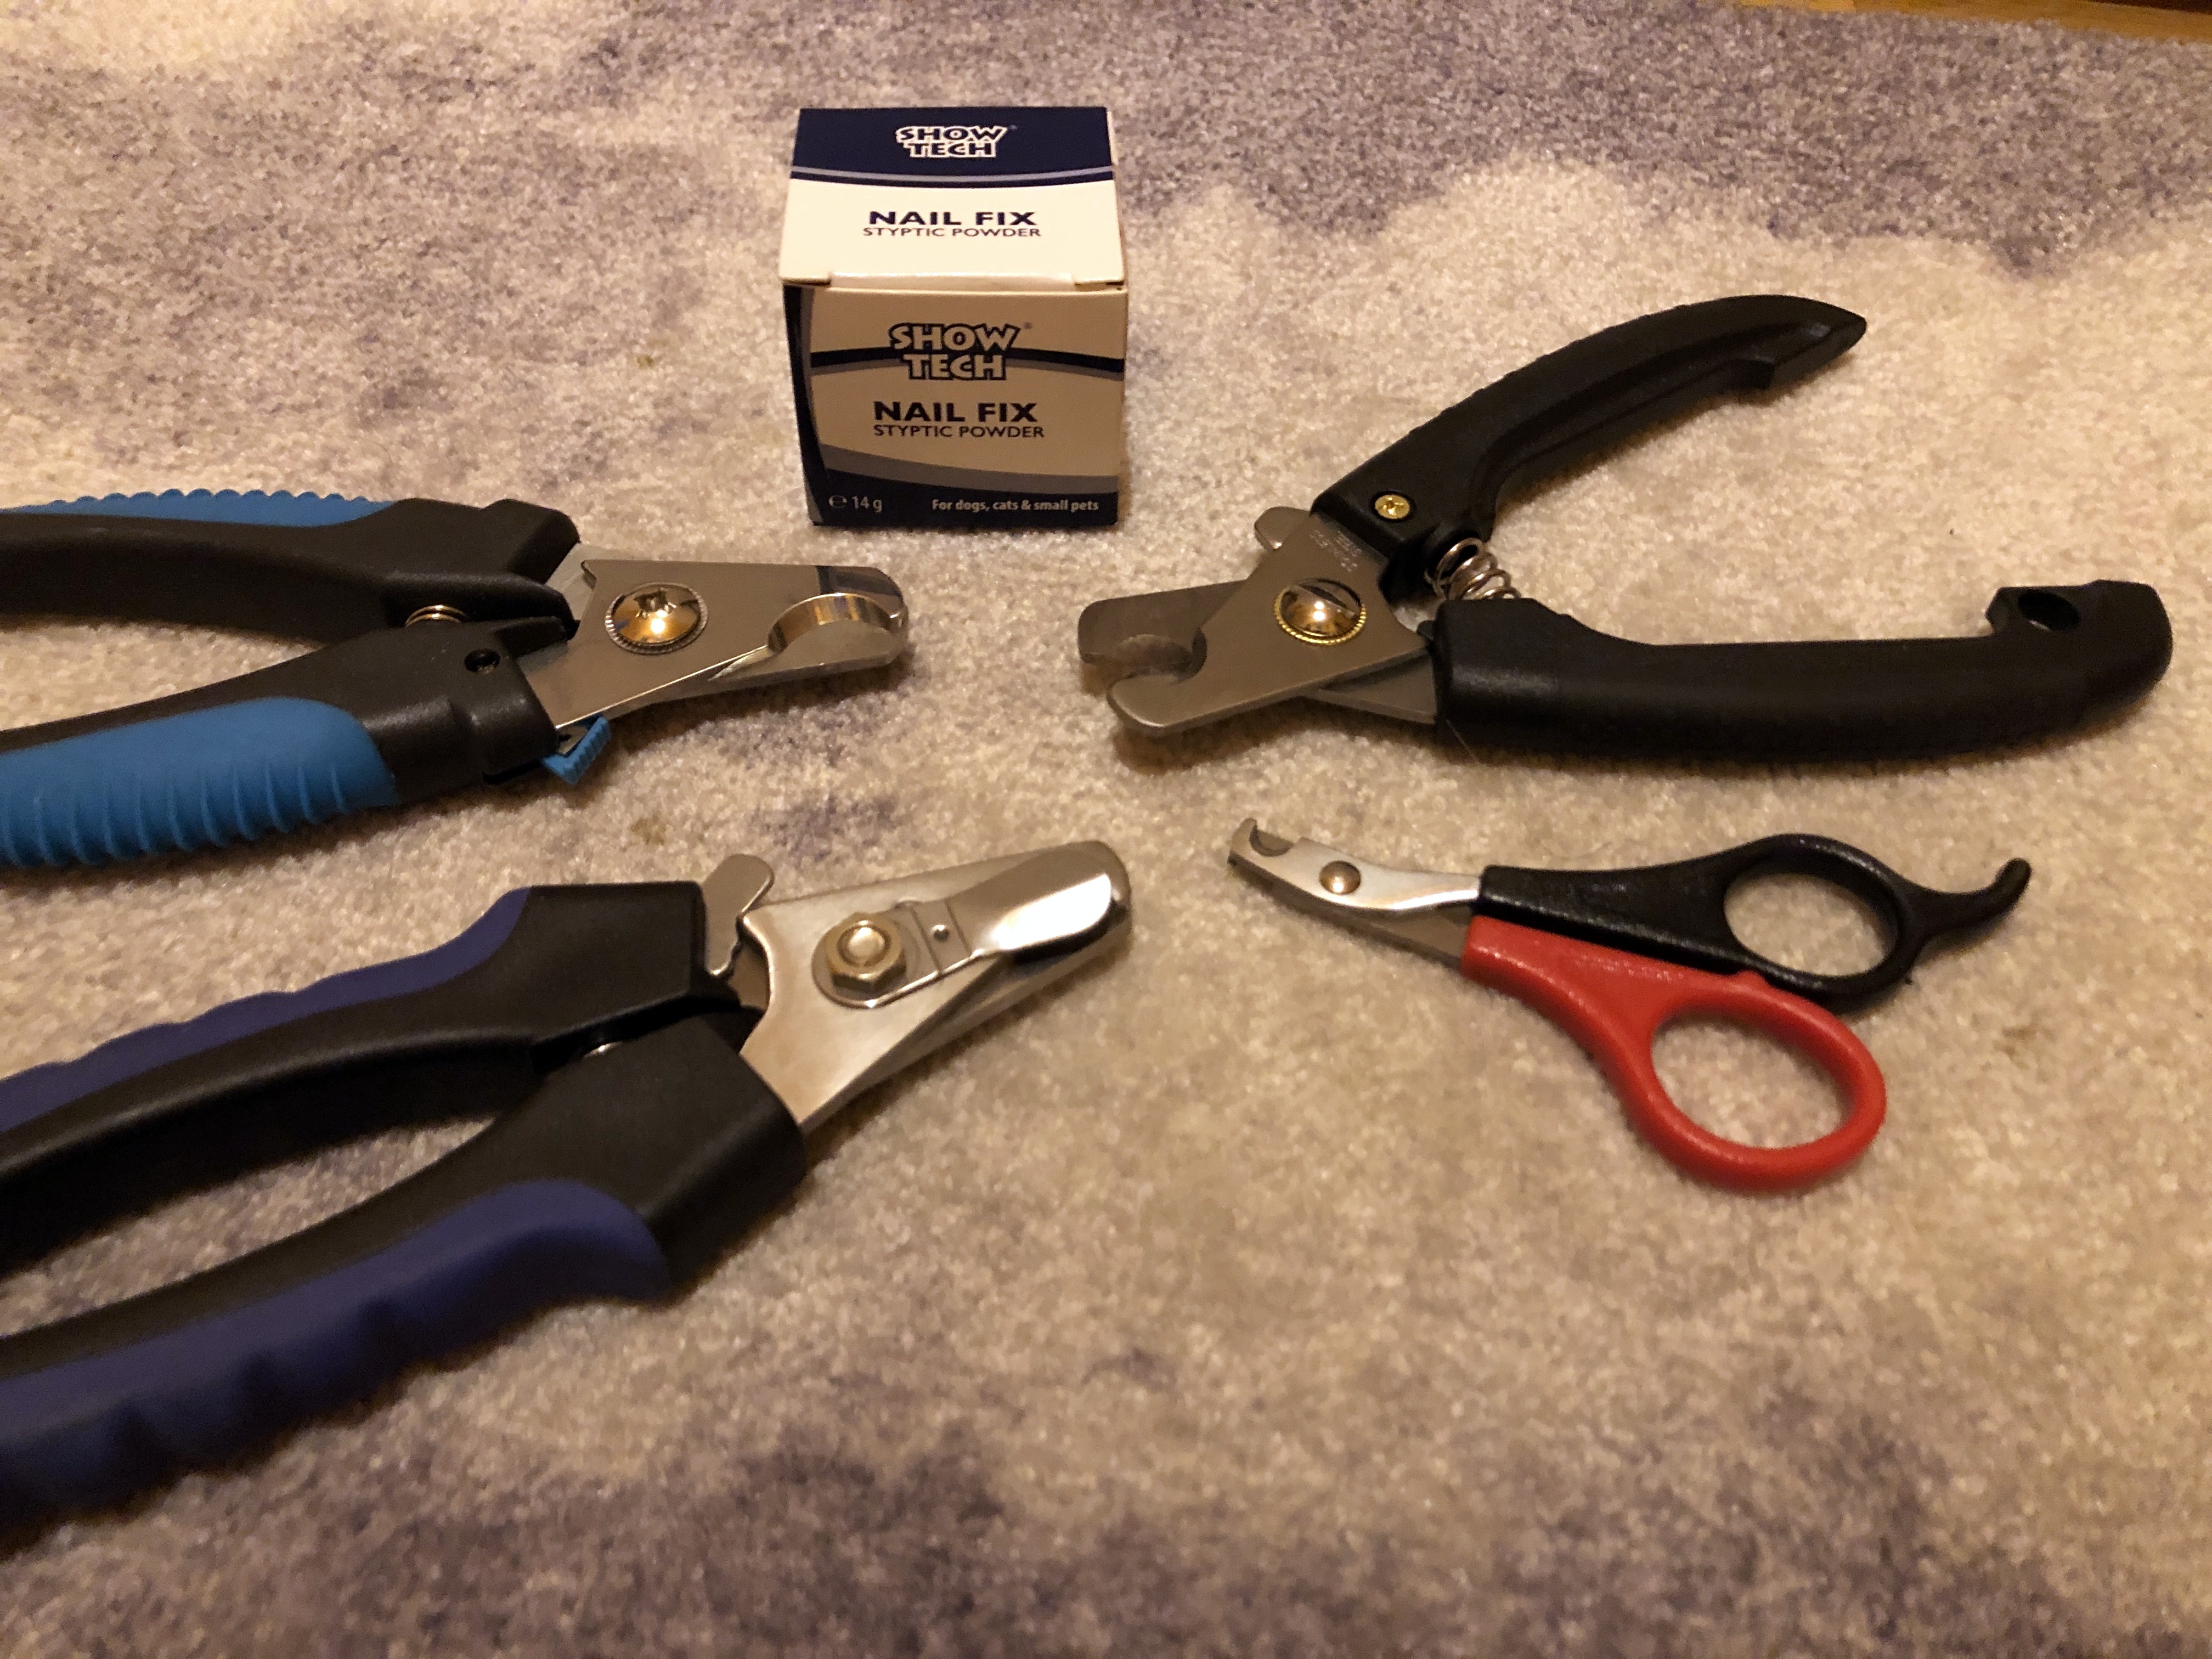
Guillotine style, scissors style or claw grinder. These are your options when choosing a tool to trim your dog's nails.
Guillotine style clippers work by placing the nail within a round opening, with a single blade being pushed upwards. With this type of clippers you have the advantage of being able to see exactly where you’ll be cutting. Round off sharp edges and cracks afterwards, either with a file or a grinder to avoid them getting caught on clothes and the like.
Scissor style clippers look, big surprise, like scissors but with two rounded blades forming a circle. The method is pretty much the same as with the guillotine style clippers and if you’re worried about cutting off too much, you can use the safety guard that only allows you to cut off small amounts at a time. Here too, edges should be made neat.

The claw grinder is not a clipper but more like a file. The cap is made from sandpaper-like material, rotates very fast via battery power and will file off the nail. Your dog may need a little more time to get used to a nail grinder and you should make sure it is safe, cordless and as quiet as possible, with adjustable speeds for nails of different thicknesses. When using a grinder, make sure not to keep it in one place for too long to avoid building up heat and trim the fur between your dog’s paws beforehand to keep it from getting tangled. The principles of when to stop shortening the nail further remain the same, so keep an eye out for the quick and you’re good to go.
Conclusion
Trimming your dog’s nails yourself is one of those things that will get less scary the more often you do it. Give yourself and your dog the time to get used to the process and be patient throughout to keep things calm and the experience positive. If it poses too much of a challenge, outsource the problem and let a professional help you. Whatever solution works for your dog’s health is the right one.